

Priming Miniatures with Spray Cans
When it comes to painting miniatures, priming is a crucial step that sets the foundation for your entire painting process. Priming helps paint adhere better to the miniature's surface, enhances paint durability, and provides a consistent base color. While there are various methods of priming, using spray cans is a popular choice due to its convenience and effectiveness. Here's a beginner-friendly guide on how to prime your miniatures using spray cans:
Materials Needed:
- Miniature(s) to prime
- Spray primer suitable for miniatures (available in various colors)
- Protective gear: gloves, mask, and goggles
- Well-ventilated area or outdoor space
- Cardboard or newspaper to protect the surrounding area
Steps:
- Choose the Right Primer:
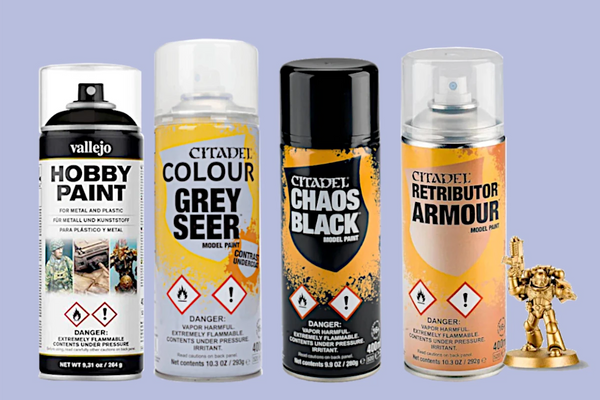 Select a spray primer specifically formulated for miniatures. These primers provide a fine mist that adheres well to small details without obscuring them.
|
- Prepare Your Workspace:
Set up your priming area in a well-ventilated space, preferably outdoors or in a well-ventilated room. Lay down cardboard or newspaper to protect surrounding surfaces from overspray.
- Prep Your Miniatures:
Ensure your miniatures are clean and free from dust and debris. You can use a soft brush or compressed air to remove any particles that may affect the primer's adherence.
- Shake the Can:
Shake the spray primer can vigorously for about 1-2 minutes to ensure the pigment is well-mixed and the nozzle is primed.
- Test Spray:
Before priming your miniatures, perform a test spray on a scrap piece of cardboard or paper to ensure the primer is flowing evenly and there are no clogs in the nozzle.
- Prime Your Miniatures:
Hold the spray can about 6-8 inches away from the miniatures. Begin spraying in short, even strokes, moving the can smoothly across the surface of the miniatures. Avoid spraying too close or holding the nozzle in one spot for too long to prevent pooling and obscuring details. Rotate the miniatures as needed to ensure full coverage from all angles.
- Allow to Dry:
After priming, allow the miniatures to dry completely according to the primer manufacturer's instructions. This typically takes about 15-30 minutes depending on the primer and environmental conditions.
- Inspect and Touch Up:
Once dry, inspect the primed miniatures for any areas that may need touch-ups or additional coats. Address any imperfections with light sanding or additional primer as necessary.
- Proceed with Painting:
With your miniatures properly primed, you're now ready to begin painting. The primer provides a smooth, uniform base for your paints to adhere to, allowing you to achieve the best possible results.
By following these simple steps, you can effectively prime your miniatures using spray cans, setting the stage for a successful painting journey. With practice and patience, you'll soon be creating beautifully painted miniatures to enhance your gaming or display experience.